Serrated blades need a different technique — here's how to sharpen bread knives and serrated edges without ruining them.
Run a flat stone across a serrated edge the way you would a straight blade, and you'll only sharpen the high points between the scallops while leaving the actual cutting edges inside each groove completely untouched. Serrated blades — bread knives especially — need a different tool and a different technique entirely, working each individual scallop rather than the edge as a whole.
Why Serrated Edges Are Different
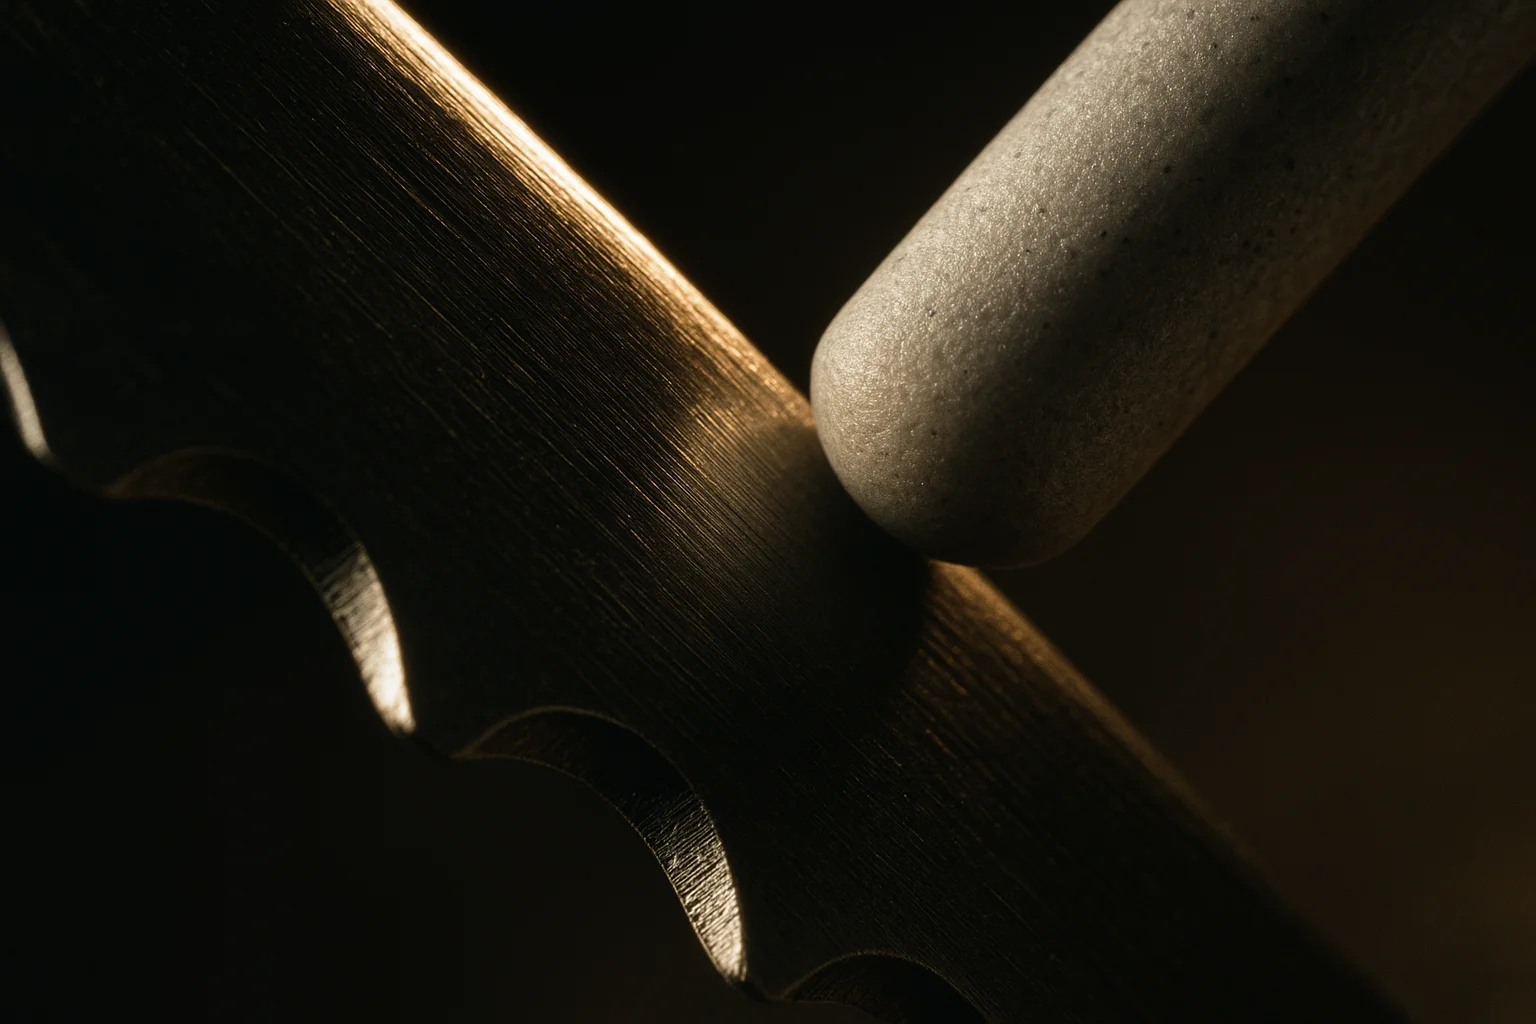
A serrated edge is really a row of small, individually beveled points, usually ground on only one side of each scallop. That single-bevel grind is what lets it saw through a crusty loaf without crushing the soft crumb inside. Because each scallop is its own tiny cutting edge, sharpening one means addressing the inside curve of each individual groove — a flat stone simply can't reach in there.
What You Need
A tapered, round or half-round diamond or ceramic sharpening rod — often called a serrated knife sharpener or a chef's steel with a fine taper — is the standard tool. The taper lets you match the rod's diameter to the width of each scallop, from the wide grooves near the handle to the narrower ones near the tip.
Step-by-Step Technique
1. Identify the Beveled Side
Most serrated knives are ground on one side only. Run a finger (carefully) along both faces near the edge — the beveled side will feel like it angles inward toward the edge, while the flat side won't. You only sharpen the beveled side; touching the flat side will change the geometry and can ruin the edge.
2. Match the Rod to Each Scallop
Starting at the heel, find a spot on the tapered rod that fits snugly inside the first scallop's curve. Insert it into the groove at the same angle as the existing bevel — usually shallow, around 15–20 degrees.
3. Stroke Along the Curve
Draw the rod through the scallop in a single motion that follows its curve, from the inside of the groove out toward the edge, applying light, even pressure. Do this 3–5 times per scallop, then move to the next one, moving heel to tip.
4. Deburr the Flat Side
Once every scallop has been addressed, lay the flat (unbeveled) side of the blade almost flat against a fine stone or the smooth back of a rod and make one or two very light passes to remove any burr that's formed — without actually grinding the flat side.
5. Test the Edge
Try slicing into a piece of bread or a tomato. A properly sharpened serrated edge should bite in and saw through cleanly without crushing or squashing.
How Often Serrated Knives Need Sharpening
Much less often than a straight-edge knife. Because each individual point does less total cutting work than a continuous straight edge, and because the design is more forgiving of minor dullness, most home serrated knives go a year or more between real sharpenings — honing isn't typically needed at all with this edge type.
When to Leave It to a Professional
Serrated sharpening is genuinely fiddly, and a heavily damaged or unevenly worn serrated edge can be difficult to fully restore by hand. If more than a few scallops are chipped or the edge has been sharpened unevenly in the past, a professional sharpening service with the right tapered wheels can often do a cleaner job than a DIY attempt.


Comments (0)
No comments yet. Be the first to share your thoughts!
Leave a comment
Your comment will appear after it's reviewed. Your email is never shown publicly.