Master whetstone sharpening with our step-by-step guide to angles, grits, and technique for a razor-sharp edge.
A whetstone remains the gold standard for sharpening because nothing else gives you the same level of control. Pull-through and electric sharpeners lock you into a fixed angle and a fixed amount of pressure; a stone lets you adjust both, stroke by stroke, based on what the edge actually needs. It takes longer to learn than running a blade through a slot, but once the motion clicks, it's faster and more precise than most people expect.
Setting Up
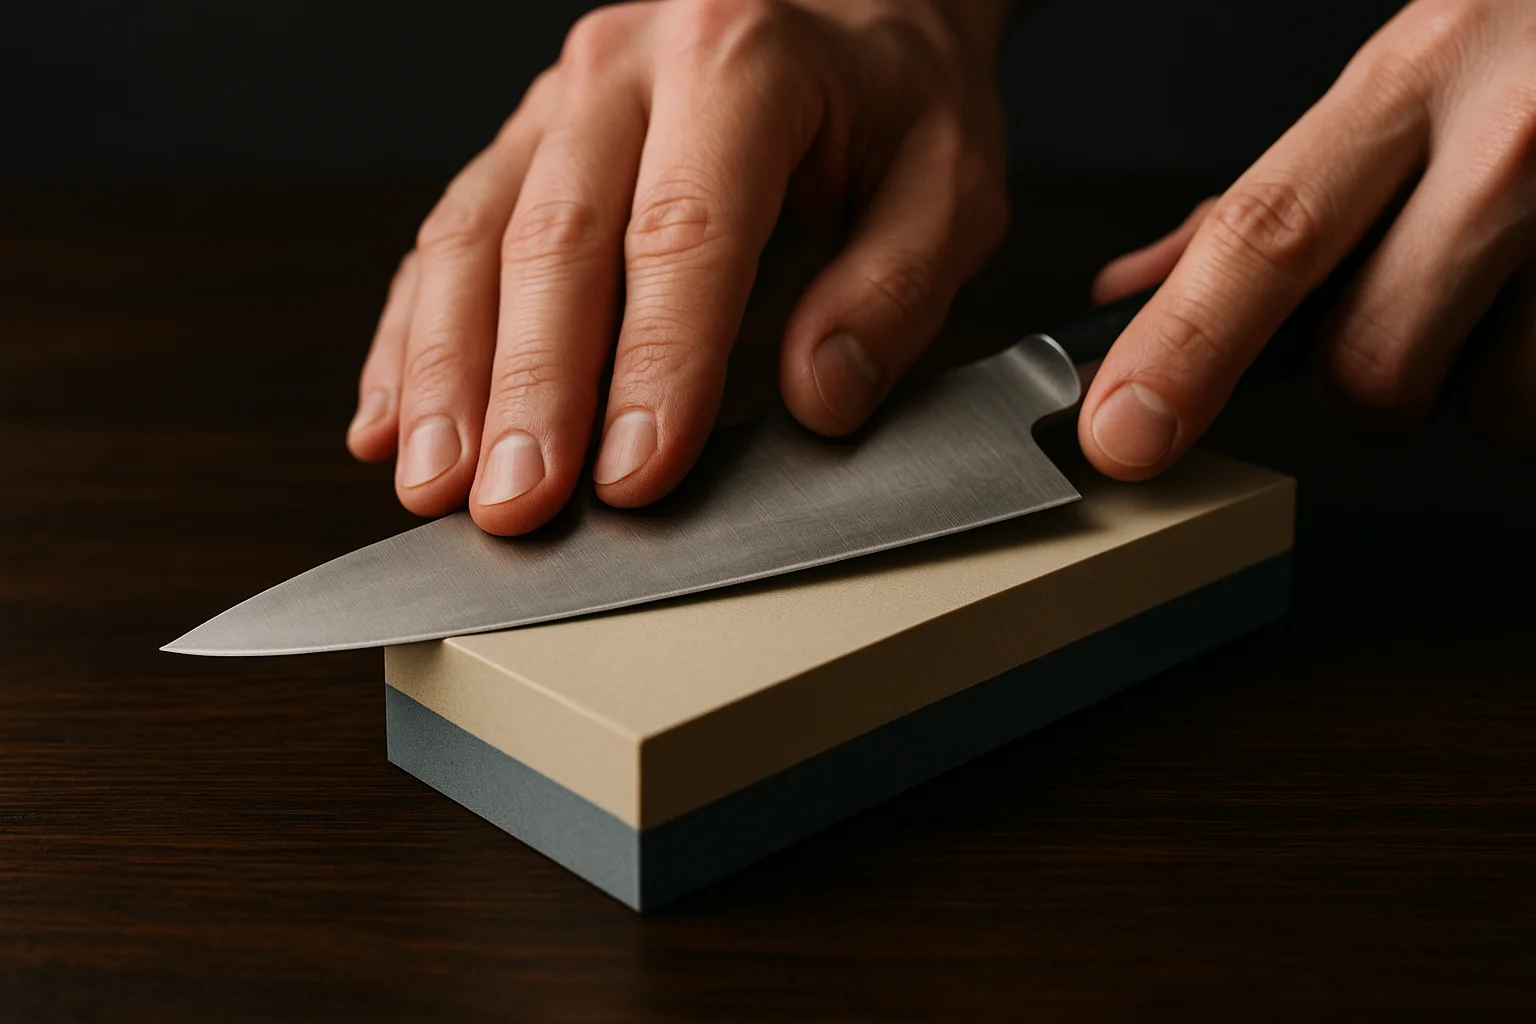
Whetstones need lubrication to work — water for water stones, honing oil for oil stones. Never mix the two on the same stone; oil will clog a water stone's pores permanently. Soak a water stone until bubbles stop rising (usually 10–15 minutes for softer stones; some hard finishing stones only need a splash). Place the stone on a damp towel or a rubber-backed stone holder so it doesn't slide while you work.
Coarse Grit: Repairing the Edge
If the edge is rolled, chipped, or hasn't seen a stone in a long time, start at 220–400 grit. Hold the blade at your target angle — 15–17 degrees per side for most kitchen knives — and draw it across the stone heel to tip in a single smooth arc, as if you were trying to shave a thin layer off the stone's surface. Keep pressure light to moderate and consistent. Work one side until you raise a burr (a thin curl of metal you can feel with a fingernail along the opposite edge, not the blade face), then switch sides and do the same.
Medium Grit: Building the Bevel
Move to 1000 grit, which is the standard maintenance grit for a knife that isn't badly damaged — if your edge only needs routine upkeep, you can often start here instead of at 220–400. Repeat the same stroke pattern, alternating sides every 8–10 strokes, until the burr is small and even along the whole length of the blade.
Fine Grit: Polishing and Refining
Finish at 3000–8000 grit. This stage doesn't remove much metal — it's about smoothing out the coarse scratches and shrinking the burr until it barely exists. Use very light pressure, almost the weight of the blade itself, and reduce the number of strokes per side as you go. A blade sharpened only to 1000 grit will cut but feel toothy; one taken to 6000–8000 grit will feel closer to a razor.
Removing the Last of the Burr
Alternate very light single strokes, side to side, until you stop feeling any burr at all. Finishing on a leather strop loaded with a fine polishing compound removes the last microscopic wire edge and aligns the very apex of the blade — this step alone can make a stone-sharpened edge noticeably sharper.
Keeping the Stone Flat
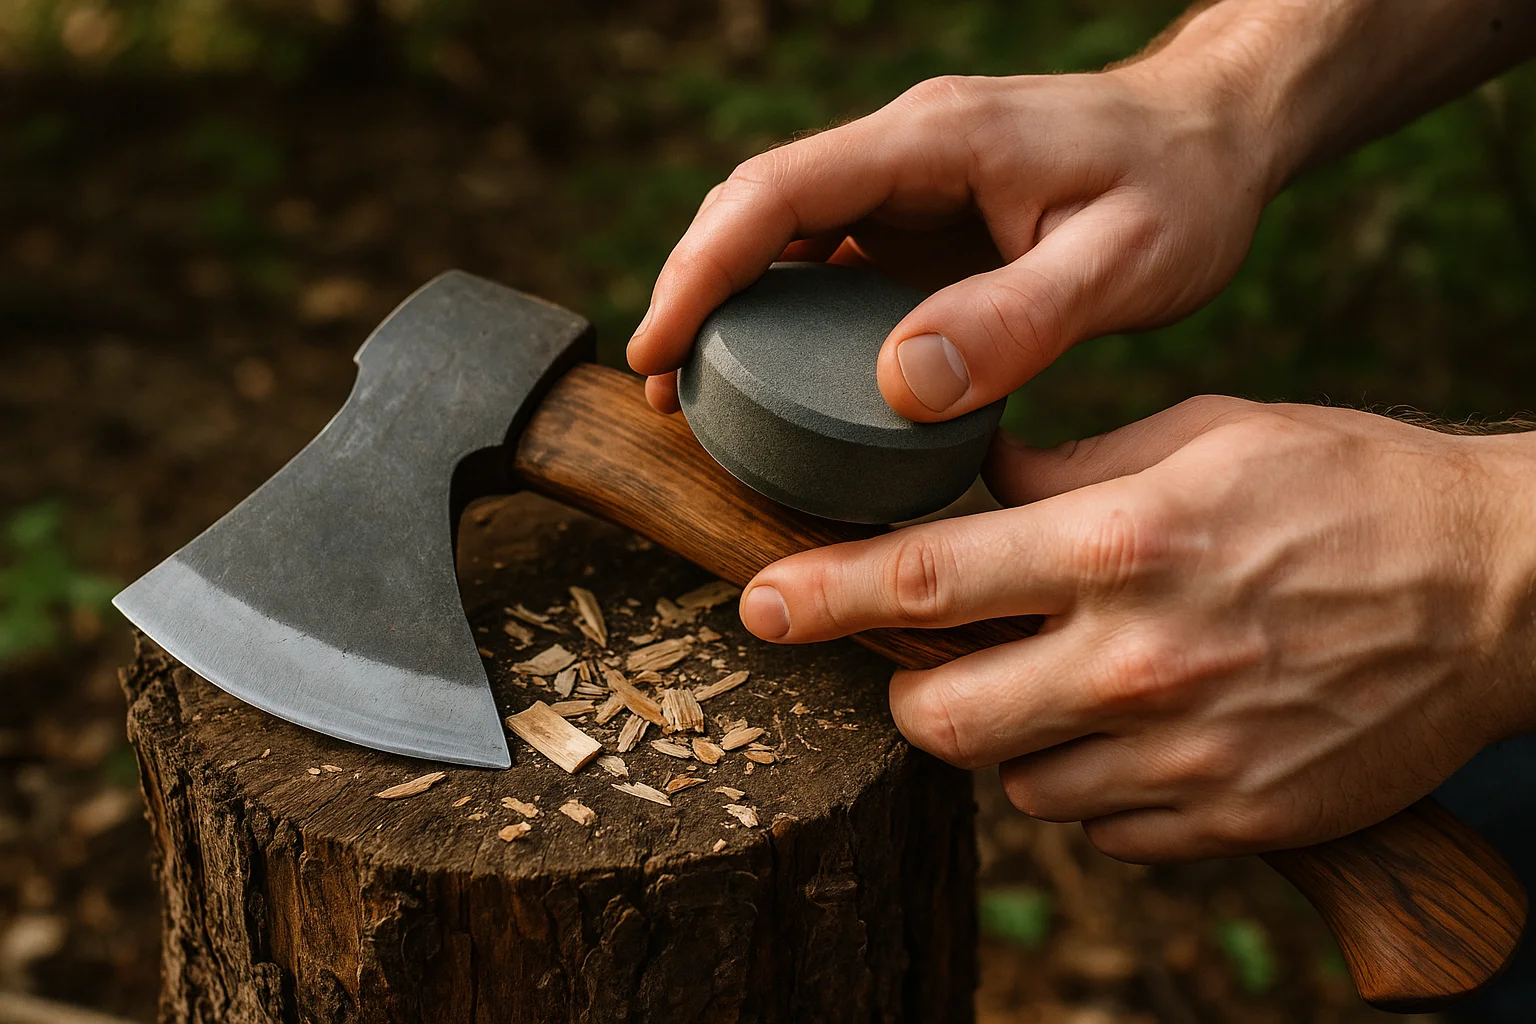
Stones wear unevenly with use, developing a slight dish in the center that throws off your angle without you noticing. Check flatness periodically by laying a straightedge across the stone, and flatten it on a dedicated flattening stone or wet sandpaper on glass when you see a gap. A stone that's out of flat will make consistent sharpening much harder no matter how good your technique is.
Common Problems
An edge that won't take a burr no matter how long you sharpen usually means the angle is too low and you're grinding the shoulder of the bevel instead of the actual edge. An edge that feels sharp on the stone but dull the moment you use it usually means the burr wasn't fully removed. And a blade that develops a wire edge that folds back and forth under light pressure means you've gone too far on too coarse a grit — drop the pressure and finish on a finer stone.


Comments (0)
No comments yet. Be the first to share your thoughts!
Leave a comment
Your comment will appear after it's reviewed. Your email is never shown publicly.