

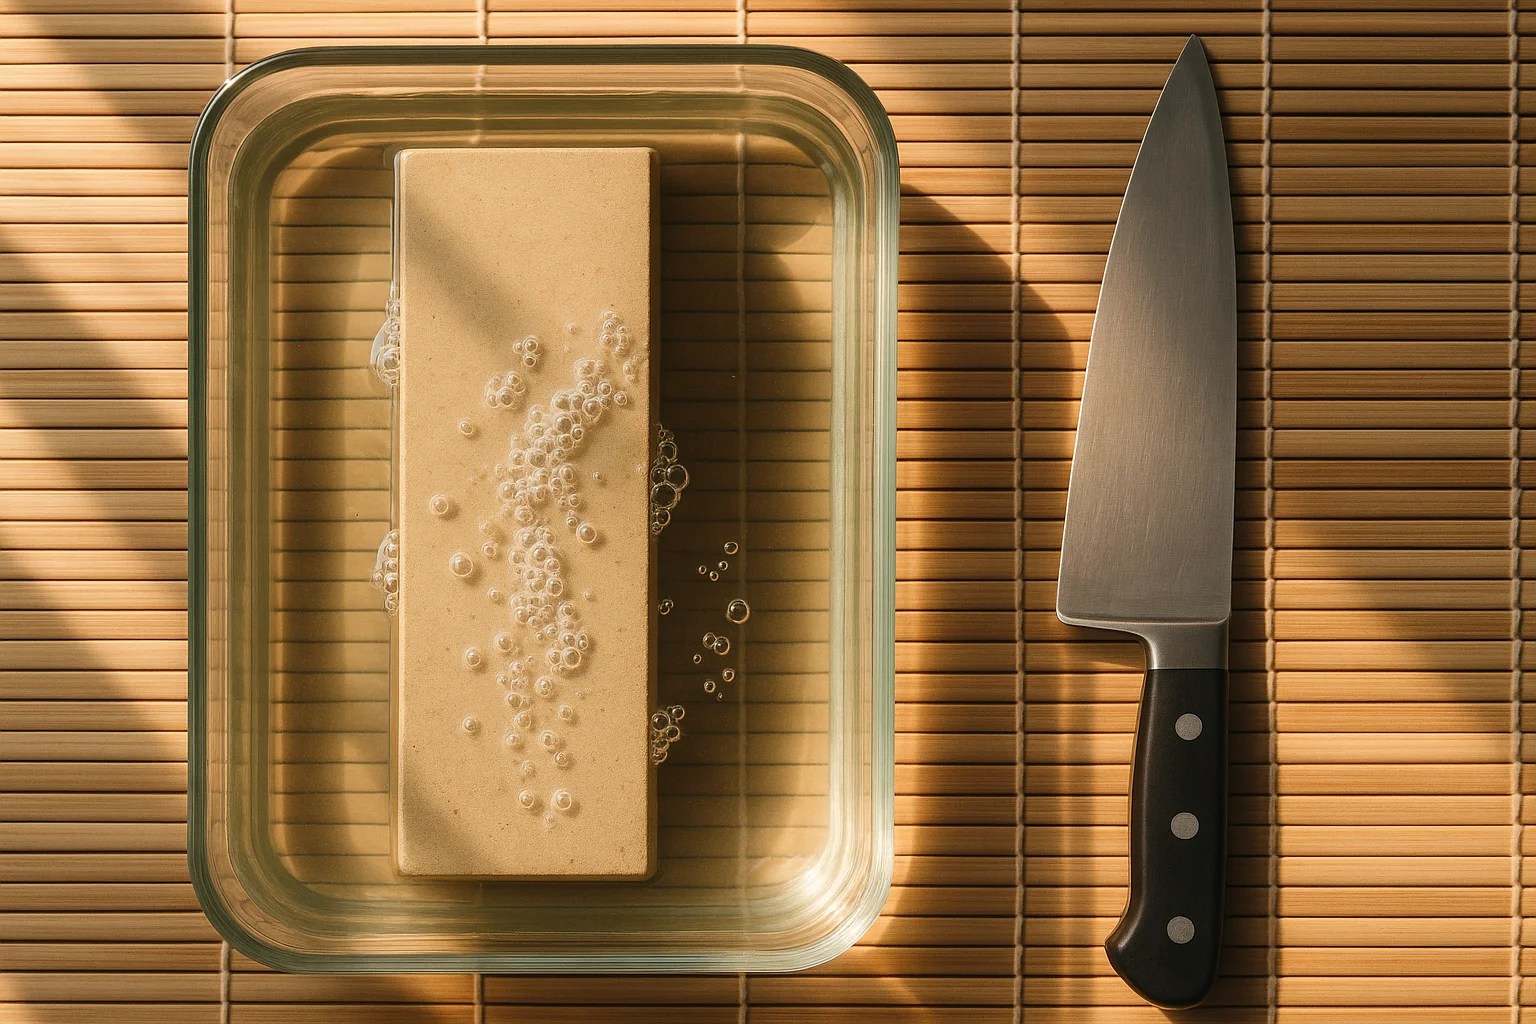
A whetstone gets its name from "whet," meaning to sharpen — not from being wet, though water-stone use has made the confusion understandable. The Japanese-style water stone is the traditional tool behind most of the sharpest kitchen knives in the world, and while it takes a little more setup than a pull-through gadget, the process is straightforward once you understand the basic routine.
Choosing a Starter Stone
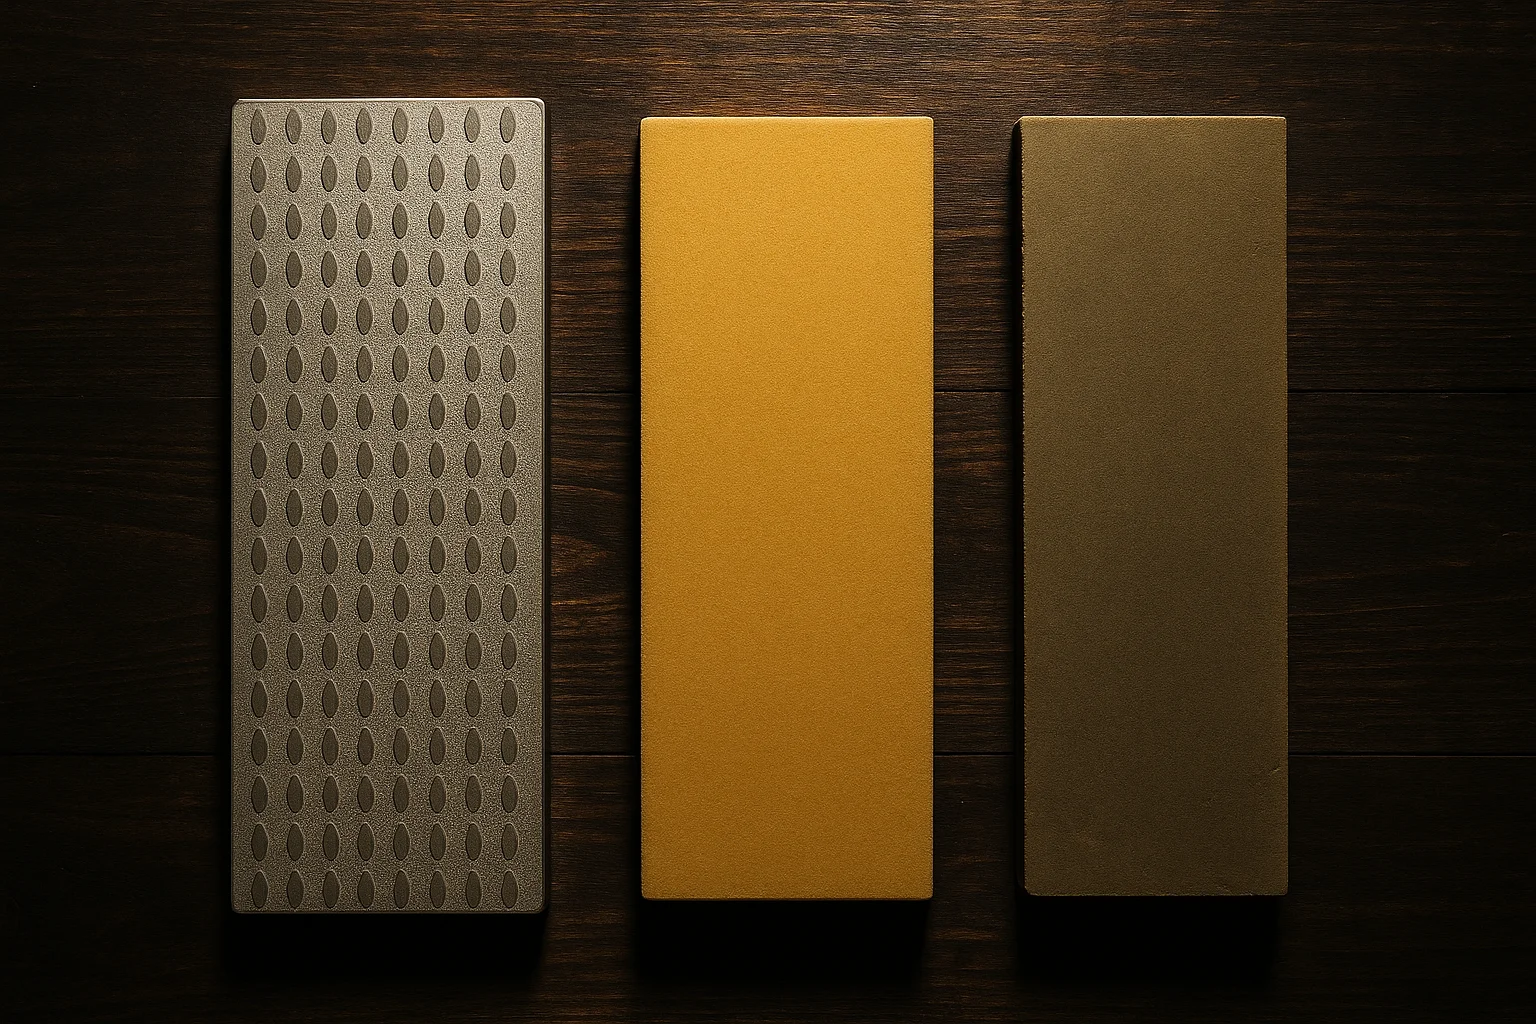
A combination stone with two grits on either side — commonly 1000/6000 or 1000/3000 — covers most routine sharpening needs in a single purchase. A separate coarser stone (220–400 grit) is worth adding later for repairing damaged or very dull edges, but isn't necessary for a first stone.
Soaking the Stone
Submerge the stone in water and watch for bubbles rising to the surface — once they stop, usually after 10–15 minutes, the stone is fully saturated and ready. Softer, coarser stones typically need a full soak; some very hard finishing stones (6000 grit and above) only need a splash of water rather than a full submersion, so check your specific stone's guidance.
Setting Up a Stable Base
Place the stone on a damp towel, a bamboo mat, or a rubber-backed stone holder so it can't slide while you work. A stone that shifts mid-stroke is one of the most common causes of an inconsistent angle for beginners.
The Basic Sharpening Motion
Hold the blade at your target angle — 12–15 degrees per side for thin Japanese-style knives, 17–20 for most Western knives — and draw it across the stone from heel to tip in a single smooth arc, as though slicing a thin layer off the stone's surface. Keep the whole edge in contact with the stone through the stroke rather than pivoting only on one spot. Work one side until a burr forms, then switch, alternating evenly.
Keeping Water on the Stone
A water stone works best wet throughout the sharpening session, not just at the start. Keep a small container of water nearby and splash the surface periodically — a stone that dries out mid-session will stop cutting efficiently and can glaze over.
Progressing Through Grits
Start coarse only if the edge needs real repair; for routine maintenance, begin at your stone's medium grit (often 1000) and move to the fine side once a burr has formed evenly. Rinse the blade between grits to avoid carrying coarser grit particles onto the finer stone, which can scratch it unnecessarily.
Cleaning and Storing a Whetstone
Rinse the stone after use to remove the metal swarf and stone slurry that builds up during sharpening, and let it air dry completely before storing — trapped moisture in a stored stone can encourage mold or cause it to crack in freezing temperatures. Store it flat, away from direct sun or heat, which can dry it out unevenly and cause cracking over time.
Flattening a Worn Stone
Regular use wears a slight dish into the center of a stone, which throws off your angle without any obvious sign except a gradually harder time getting consistent results. Lay a straightedge across the surface periodically to check, and flatten it on a dedicated flattening stone or a sheet of wet/dry sandpaper on glass when you notice a gap.
Comments (0)
No comments yet. Be the first to share your thoughts!
Leave a comment
Your comment will appear after it's reviewed. Your email is never shown publicly.